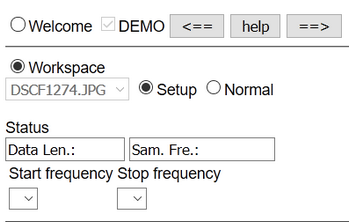
Select Radio button "Workspace" and "Setup" on the control panel,
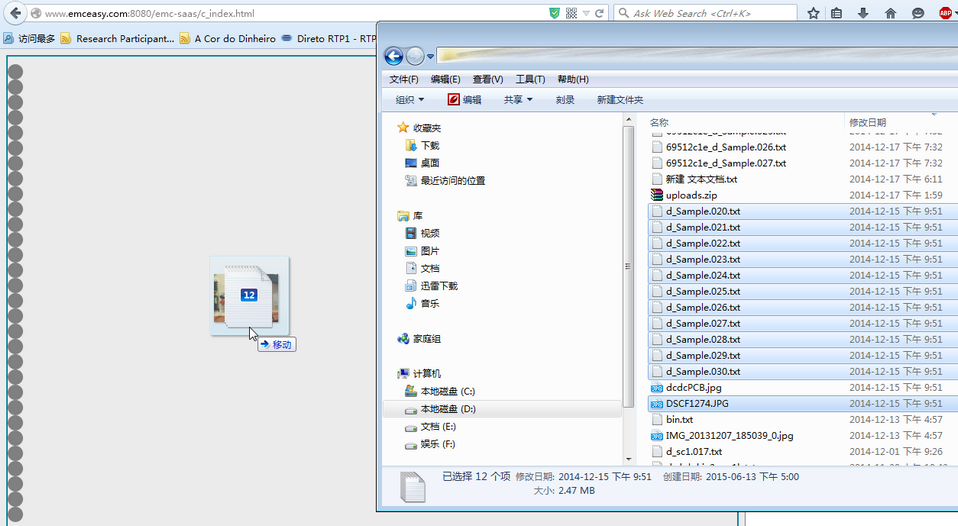
Drag all of your data files (TXT or CSV format) and image files (JPG format) of circuit board and drop them into the workspace (the main screen).
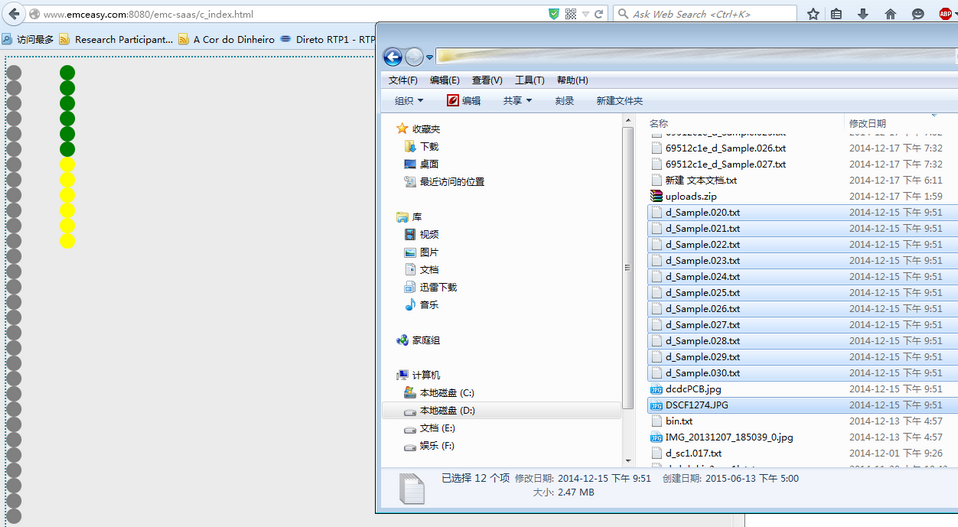
Upload will start automatically and all dropped data files are represented as yellow balls (Test Point, "TP" hereafter), later on all the balls will turn into green after the upload is complete.
After all files are uploaded successfully, selecting "Work Space –> Normal" to create the virtual Workspace. The uploaded JPG format image file will be set as wallpaper of Workspace automatically, and all data file will be listed in "Data Selection" list on the control panel.
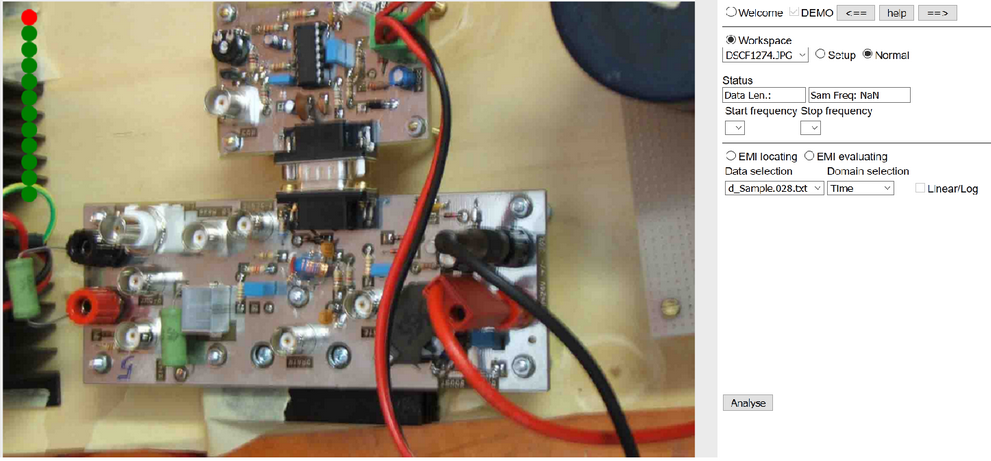
Select Work Space -> Setup radio button, moving mouse over TP will show its represented data file name, dragging each TP to individual position on workspace where corresponding data was acquired, so that the position where the data was acquired from can be traced back during data analysis.
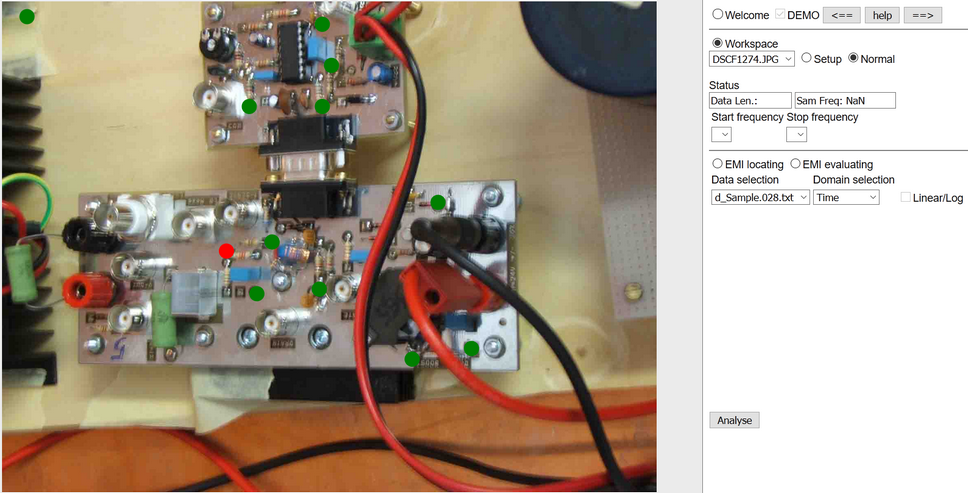
Select Workspace -> Normal radio button to save the configuration, move mouse over any green TP, the represented data will be selected on "Data Selection" list of control panel, and user can hear the audio of that TP simultaneously.
Tips:
1. Data file can be deleted by simply drag and drop TP out of work space’s left boundary.
2. Multiple circuit board images can be uploaded to the server and set up as background by selecting the Workspace option of control panel.
3. Grey TP balls can be used as bench marks on workspace by the following steps:
a) Select Workspace -> Setup, upload a picture in JPG format and set it as background of Workspace (eq. circuit board image), select Workspace -> Normal to save the workspace status;
b) Select Workspace -> Setup, meanwhile measure a group of voltage waveform from the circuit board by an oscilloscope, every time you get a data value, drag and drop a grey TP ball to the actual test position on the image of the workspace until the whole measurement complete.
c) After all the test data have been uploaded, drag green TP balls one by one to overwrite the grey TP balls according to the test sequences.
d) Select Workspace ->Normal to save the cloud workspace status.